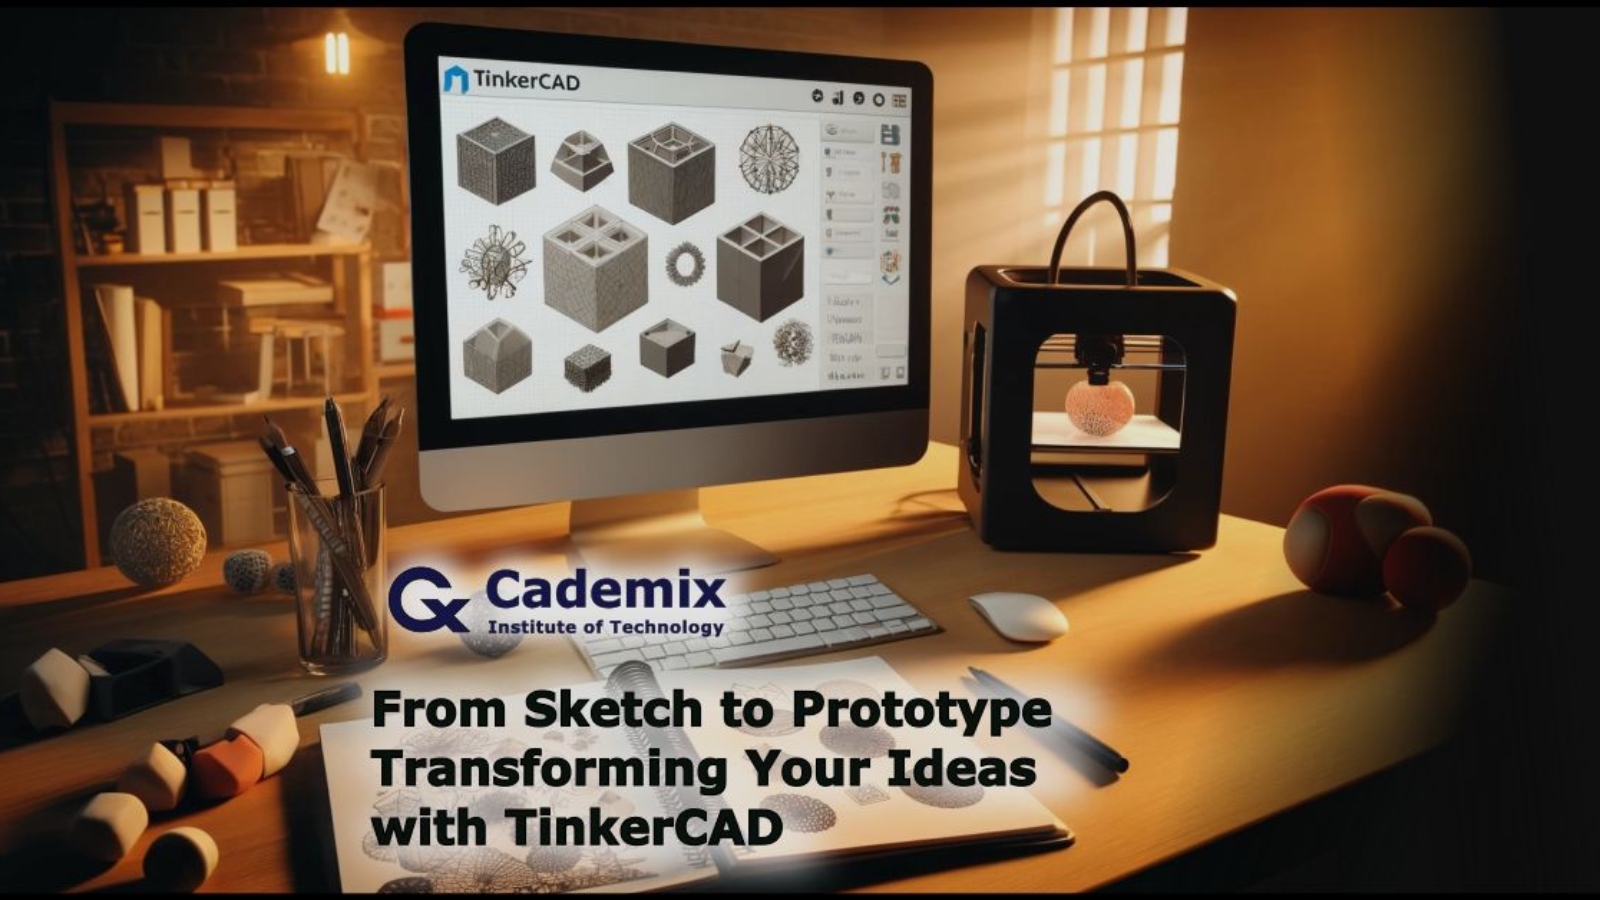
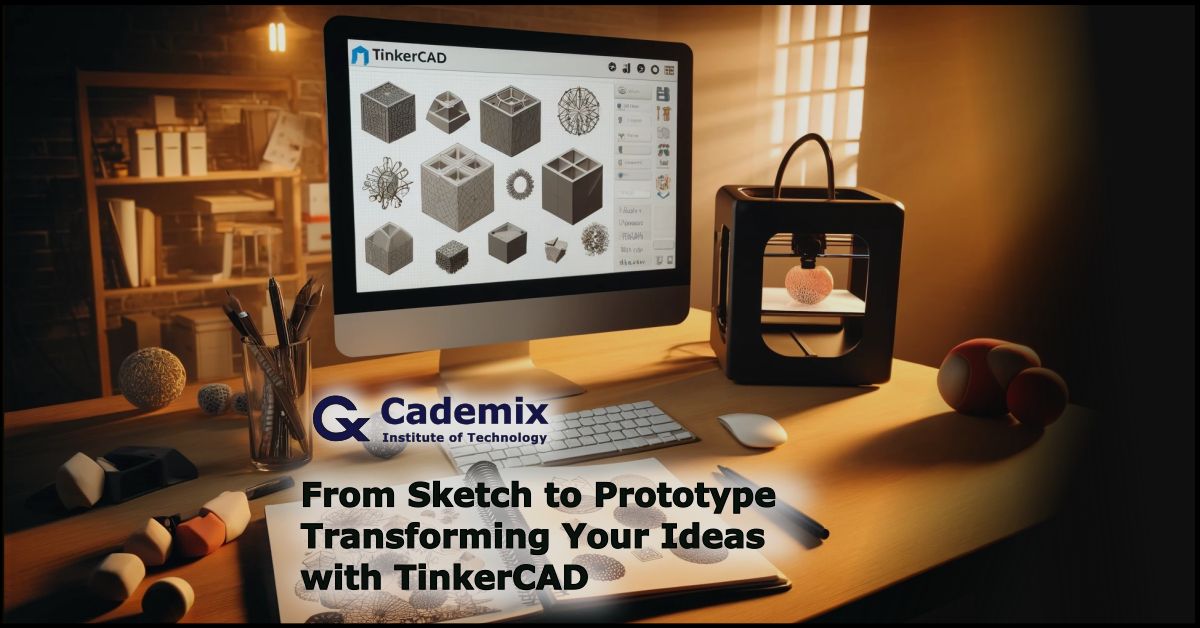
Explore the transformative capabilities of TinkerCAD in this comprehensive guide that walks you through the entire process of converting simple sketches into detailed 3D prototypes. Ideal for hobbyists, educators, and professional designers, this article provides step-by-step instructions on using TinkerCAD’s user-friendly interface and powerful tools to easily create, refine, and realize your 3D projects. Whether you are new to digital design or looking to enhance your skills, learn how TinkerCAD can help you achieve precision and innovation in your designs.
By Samareh Ghaem Maghami, Cademix Institute of Technology
Introduction
In the rapidly evolving world of digital design, TinkerCAD, an intuitive, web-based 3D modeling tool, emerges as a beacon for both novices and seasoned creators alike. Whether you’re a student, educator, or hobbyist, TinkerCAD offers a streamlined, user-friendly platform that demystifies the process of turning abstract sketches into tangible prototypes. Ideal for personal projects, educational purposes, and experimental design, TinkerCAD not only simplifies but also enhances the journey from conception to creation.
With its free accessibility and comprehensive suite of tools, TinkerCAD empowers users to breathe life into their ideas without the need for complex software or extensive training. This guide aims to walk you through the essential steps of creating 3D models, starting from mere doodles on a napkin to sophisticated, ready-for-printing prototypes. Embrace the future of design with TinkerCAD, where your creativity knows no bounds and every sketch can become a masterpiece.
Getting Started with TinkerCAD
Sign Up and Setup
Embarking on your 3D design journey with TinkerCAD starts with a simple, user-friendly sign-up process. To create a TinkerCAD account, visit the official TinkerCAD website and select the ‘Join Now’ option. This free 3D modeling platform is accessible to anyone—from 3D printing enthusiasts to educational professionals—looking to enhance their digital fabrication skills. Once your account is active, navigating the TinkerCAD interface is straightforward. The dashboard is designed with simplicity in mind, ensuring that even those new to 3D modeling software can begin crafting their designs with minimal orientation.
Tools Overview
TinkerCAD offers a robust array of design tools tailored to facilitate the creation of 3D models effortlessly. The platform is equipped with features such as Shape Generators, Shape Manipulation, and Smart Duplicate, making it ideal for beginners in 3D modeling and professional designers alike. Each tool is meticulously designed to offer maximum functionality with minimal complexity, ensuring that your creative process remains uninterrupted. Whether you are planning to design complex engineering models or simple classroom projects, TinkerCAD’s tools are versatile enough to accommodate a broad spectrum of 3D modeling needs.
Exploring the basic shapes library in TinkerCAD introduces you to the building blocks of 3D modeling. These predefined shapes can be dragged and dropped onto your workspace, and then manipulated to match the specifications of your sketch. For more advanced users, the custom shape creator unleashes unlimited possibilities in creating bespoke geometries.
As you become familiar with these tools, you’ll find that TinkerCAD is not just a gateway to 3D printing but also a powerful educational resource for understanding the fundamentals of spatial design and digital fabrication.
Preparing Your Sketch
Sketching Basics
The initial phase of any successful 3D printing project begins with a well-crafted sketch. Whether you are a hobbyist, an educator, or a design student, mastering the art of sketching is crucial. Your sketch should include all necessary details to ensure that your vision is accurately translated into a 3D model. Clear, detailed drawings reduce the time needed for adjustments during the modeling process, improving efficiency in design workflow.
Translating Sketch to Design Requirements
Transforming your sketch into a 3D printable model requires thoughtful consideration of design requirements. This process involves analyzing the sketch to identify key features that must be prominent in the final 3D design. Dimensions, proportions, and the relationship between different elements are critical factors that should be meticulously detailed in your sketch.
TinkerCAD offers tools that assist in this translation by allowing for precise adjustments and modifications. As you move your project from sketch to digital model, leverage TinkerCAD’s measurement and alignment tools to maintain the integrity of your original design. This step is vital for ensuring that your 3D prototype will function as intended, whether it’s a piece for an art installation, a component of a mechanical device, or an educational model for classroom use.
Creating Your Model in TinkerCAD
Step-by-Step Guide
The transition from conceptual sketches to 3D models is where the magic happens in TinkerCAD. Follow this guide to effectively turn your creative concepts into detailed 3D designs:
- Starting a New Project: Begin by launching TinkerCAD and selecting ‘Create new design’. The user-friendly interface provides a clean workspace where your creativity can take physical form.
- Importing Sketches: If available, import your initial sketches as a reference image to guide your design process. This feature helps maintain accuracy in translating your ideas into the digital space.
- Using Basic Shapes: Drag and drop shapes from the extensive library to start shaping your model. TinkerCAD’s shapes can be customized and manipulated to match the contours and details of your sketch.
- Modifying Shapes with Tools: Employ tools like ‘Extrude’, ‘Cut’, and ‘Custom Shape Maker’ to refine the shapes further. These tools are essential for achieving the precision required in professional 3D modeling.
Tips and Tricks
Leverage TinkerCAD’s features to enhance efficiency and detail in your models:
- Alignment Tools: Ensure all parts of your model are perfectly aligned using the alignment tools, which are crucial for complex assemblies.
- Grouping and Merging Shapes: Simplify your design process by grouping related shapes, making it easier to manipulate and modify multiple components as a single unit.
By following these steps and utilizing the functionalities offered by TinkerCAD, you will be able to create 3D models that are not only accurate but also optimized for 3D printing. Whether you’re a student working on a class project or a professional designer developing prototypes, these tools make it possible to bring even the most intricate designs to life.
Refining Your Model
Detailing Your Design
Once the basic shape of your 3D model is established in TinkerCAD, the next step is to refine and add details, transforming it into a precise and functional prototype. Whether you’re creating intricate custom jewelry, educational aids, or detailed architectural models, the detailing phase is crucial. Utilize TinkerCAD’s array of advanced editing tools to add texture, fine-tune shapes, and incorporate complex features that enhance the model’s aesthetics and functionality.
Viewing and Testing
Before moving on to prototyping, it’s essential to thoroughly view and test your model within TinkerCAD. Use the platform’s simulation features to assess the functionality and durability of your design. Check for any structural weaknesses or aesthetic inconsistencies that could affect the final product. This step not only ensures that your 3D prototype meets all the required specifications but also reduces material wastage during the 3D printing process.
This rigorous refinement and testing phase underscores the practicality and versatility of TinkerCAD as a tool for professional designers, educators, and hobbyists aiming to achieve professional-grade results in digital fabrication. By perfecting your model in TinkerCAD, you ensure that the transition from a digital design to a physical object is seamless and successful.
Exporting and Prototyping
File Types and Exporting
Once your 3D design is finalized in TinkerCAD, the next crucial step is exporting it for prototyping. TinkerCAD supports a variety of 3D file formats, including STL, OBJ, and SVG, which are compatible with most 3D printers and fabrication software. Understanding how to export your models correctly is essential for ensuring that the 3D printing process proceeds smoothly. Make sure to select the appropriate file type based on your specific printing requirements and the material specifications.
From Digital to Physical
Transitioning from a digital model to a physical prototype is a thrilling step in any product development process. This stage brings your ideas into the real world, allowing you to touch, feel, and test your creations. Whether you are making prototypes for innovative tech gadgets, customized gifts, or educational tools, the quality of your 3D print largely depends on the precision of your exported model and the settings of your 3D printer.
Testing and Iterating
After printing your initial prototype, evaluate its form and function. Testing is a critical phase in product design, as it may reveal areas that require refinement. Use the feedback to iterate your design in TinkerCAD, enhancing features, resolving issues, and optimizing the model for future prints. This iterative process is a key component of rapid prototyping, allowing for agile development and innovation.
Conclusion
The journey from sketch to prototype is a transformative process that harnesses the power of 3D modeling to turn abstract ideas into tangible realities. TinkerCAD stands out as an exceptional tool in this digital era, offering a user-friendly platform for hobbyists, educators, and professional designers alike. With its intuitive interface and versatile functionalities, TinkerCAD empowers users to create, refine, and realize complex 3D projects with ease.
Whether you’re looking to advance your skills in digital fabrication, explore educational models, or innovate within your field, TinkerCAD provides the necessary tools to bring your visions to life. This platform not only enhances learning experiences but also fosters innovation in 3D design and printing. We encourage you to take your creative projects to the next level, utilizing TinkerCAD to bridge the gap between imagination and physical creation.
As you continue to explore the potential of 3D modeling, remember that each prototype is a step towards mastering this craft. The possibilities are limitless when you can visualize, iterate, and produce with such precision and accessibility.
About the Author
Samareh Ghaem Maghami is an Associate Technical and Interior Designer at Cademix Institute of Technology, Austria with a Bachelor’s Degree in Fine Art and a specialization in Painting. In addition to artistic subjects, she is not only interested in improving knowledge in technical and creative fields but also always curious about new subjects to achieve career advancement. Furthermore, she is a member of the Cademix Career Autopilot Program. She is available for new opportunities.
Please don’t hesitate to reach out and connect with her.
Email:
sam.gh.maghami@gmail.com
samareh.ghaem-maghami@cademix.org
LinkedIn:
https://www.linkedin.com/in/samareh-ghaem-maghami